| Qty | 1 | 50 | 100 | 200 | 300 | 500 | 1000 | 2000 | 5000 | 10000 | 25000 | 25000+ more |
| Price | $0.01 | $0.86 | $0.77 | $0.46 | $0.44 | $0.43 | $0.42 | $0.40 | $0.39 | $0.38 | $0.30 | For the best pricing on quantities over , contact us by clicking here for a special quote |


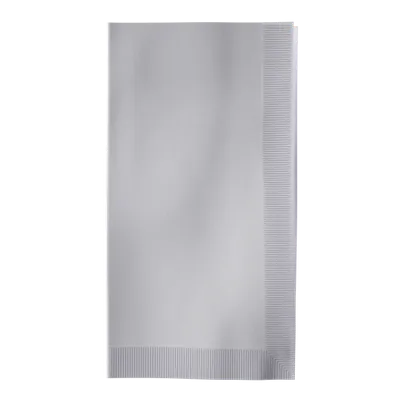
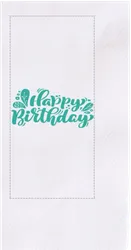
Your design will be positioned in the center and in the middle of the printable area. Unless otherwise instructed.
Review your order
Product:
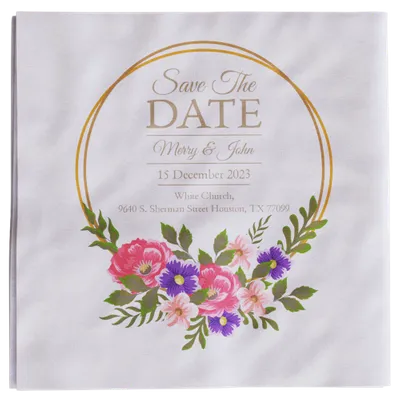
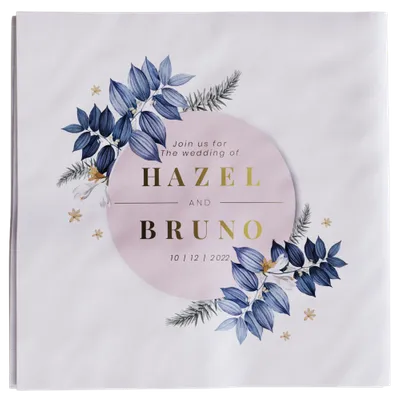
Custom Guest Towel Napkin
Total Quantity:
0
Total Amount:
$0.00 (All Inclusive)
Delivery date:
Crafted from premium-quality paper, these napkins offer a luxurious, soft texture while maintaining impressive durability. Their absorbent nature makes them suitable for decorative and functional purposes, providing your guests a clean, upscale experience.
We also use precision monochrome printing technology, ensuring your custom design or logo stands out with crisp clarity. Whether for a simple imprint or full-color customization, your branding, or design will appear sharp, smudge-free, and professional.
Available in sophisticated colors, including Ash Blue, Military Green, Rose Red, and Classic White, our guest towel napkins effortlessly complement any event theme or decor. Measuring 8" x 4.5” (or 20.32 cm x 11.43 cm) when folded and unfolding to a generous 17" x 12", these napkins are perfect for placement at dinner tables, restrooms, or buffet settings.
Our Premium Guest Towel Napkins are perfect for:
Whether hosting a small gathering or planning for a large-scale event, we offer bulk ordering options to meet your needs. Contact us for custom quotes and support with event planning!
| Specification | Details |
|---|---|
| Material | Premium-quality paper, soft and absorbent |
| Folded Dimensions | 8" x 4.5” (Approx. 20.32 × 11.43 cm) |
| Unfolded Dimensions | 17" x 12" (Approx. 43.18 x 30.48 cm) |
| Imprint Size | 3" w x 5" h |
| Imprint Colors |
|
| Printing Method | Monochrome |
| Napkin Colors |
|
| Best Suited For |
|
Choosing the right file format ensures your design appears flawless when printed. Below is an in-depth guide to each file type, its best uses, advantages, and tips to optimize its performance:
| File Type | Description | Advantages | Tips for Best Use |
|---|---|---|---|
| AI (Illustrator) | Adobe Illustrator file used for vector graphics, logos, and detailed designs. |
|
|
| EPS | Vector-based file format compatible with most design software. |
|
|
| PSD (Photoshop) | Raster-based file format perfect for designs with layers, photos, or detailed visuals. |
|
|
| Universal file format, combining vector and text-based designs in a compact format. | Supports high-quality graphics and text. |
|
|
| JPEG/JPG | A raster image format that’s ideal for simple images, photos, and quick uploads. |
|
|
| PNG | Raster format supporting transparency, commonly used for web designs or graphics. | Transparent backgrounds for overlaying designs. | Use PNG for light graphics; not ideal for large-scale prints. |
| TIF/TIFF | High-resolution image format designed for detailed graphics and photos. | Lossless quality retention, perfect for complex visuals. | Save files at the highest resolution for intricate logos or photos. |
| GIF | Simple raster format limited to 256 colors; best for animations and small icons. | Lightweight for web use, but not suitable for detailed prints. | Use sparingly; avoid GIFs for large-scale print graphics. |
Step 1: Select Napkin Type
Step 2: Choose Your Napkin Style
Step 3: Select Napkin Color
Choose from 18 vibrant colors to match your theme. For dark-colored napkins, opt for light imprints (e.g., white, gold), and for lighter napkins, select bold imprint colors (e.g., black, navy) to ensure visibility.
Step 4: Choose Napkin Thickness
Step 5: Select Printing Orientation:
Step 6: Add Your Custom Design:
Step 7: Specify Quantity and Delivery Date
Plan and select a guaranteed delivery date. Standard production takes 3–5 business days, with expedited options available for urgent timelines.
The dimensions and quality of the premium guest towel napkins make them suitable for a wide range of occasions besides restrooms and bathrooms. Here are some detailed suggestions for their applications:
To maintain the appearance and usability of Premium Guest Towel Napkins, follow these care and handling tips:
Recycling: Dispose of napkins responsibly. Although designed for single use, they are recyclable, minimizing environmental impact.
Yes, double-sided printing is available for Premium Guest Towel Napkins, and there is an additional charge for this option. We will confirm the exact cost with our production team and follow up with you via email.
While made from high-quality paper, these napkins are compostable under the right conditions. We recommend checking with your local composting facilities to confirm their eligibility.
These napkins are designed for single use to ensure the highest standards of hygiene and convenience. However, their premium quality ensures they will look great throughout your event.
Yes, we offer generous discounts on bulk orders of 500 units or more. Please contact us directly for a custom quote tailored to your order.
Check below for a brief of shipping, refunds, and return policies. Check also our Membership program which comes with incredible perks:
Unlock exclusive benefits by joining our Promo Pro membership:
No minimum purchase necessary. Save 10% off on our products, excluding production, shipping, sample products and applicable sales tax. Max $100 discount per order. Coupon code SAVE10 must be entered at checkout. Offer cannot be combined with any other coupons or promotions, and may change, be modified or cancelled at any time without notice. Offer cannot be apply when only sample product in cart.

/filters:quality(80)/fit-in/500x500/20250111-e1ccbb80-d097-11ef-9f2a-892789ed137d.jpeg)
/filters:quality(80)/fit-in/500x500/20250105-62dcf2c0-cbd8-11ef-80c7-cf0be861d583.jpeg)
/filters:quality(80)/fit-in/500x500/20241216-7cb66990-bbc3-11ef-ab59-25c68c576e86.jpg)
/filters:quality(80)/fit-in/500x500/20241211-62f97ce0-b7e0-11ef-aa2a-2b6503a888f3.jpg)
/filters:quality(80)/fit-in/500x500/20241211-656d6160-b7dc-11ef-8a23-f94d292bf45a.jpeg)
/filters:quality(80)/fit-in/500x500/20241030-c0ffec70-96c4-11ef-9d59-b94ccfbb9ac8.jpeg)
/filters:quality(80)/fit-in/500x500/20240925-a4325560-7b60-11ef-b321-5d32bcb964ba.png)
/filters:quality(80)/fit-in/500x500/20240919-dc291cc0-76e1-11ef-a76f-53fd5de2536c.jpg)
/filters:quality(80)/fit-in/500x500/20240913-c7bd9fa0-721f-11ef-b28a-070228e2f51e.png)
/filters:quality(80)/fit-in/500x500/20240829-e660c880-6673-11ef-a320-1d83de28edb7.png)
/filters:quality(80)/fit-in/500x500/20240729-a5470d50-4da3-11ef-829a-2964fd1472b7.jpg)
/filters:quality(80)/fit-in/500x500/20240724-0c838810-49b7-11ef-bf2a-5755b6f23dd7.png)
/filters:quality(80)/fit-in/500x500/20240719-80ec5440-45be-11ef-8a69-7fa5527f38a6.jpeg)
/filters:quality(80)/fit-in/500x500/20240708-090308d0-3d84-11ef-9aea-e122388fc8b5.jpeg)
/filters:quality(80)/fit-in/500x500/20240620-0d9e8380-2f07-11ef-a9fe-6d609c33d7c7.jpeg)