| Qty | 1 | 50 | 100 | 200 | 300 | 500 | 1000 | 2000 | 5000 | 10000 | 25000 | 25000+ more |
| Price | $0.01 | $0.68 | $0.37 | $0.36 | $0.35 | $0.26 | $0.23 | $0.22 | $0.21 | $0.20 | $0.18 | For the best pricing on quantities over , contact us by clicking here for a special quote |


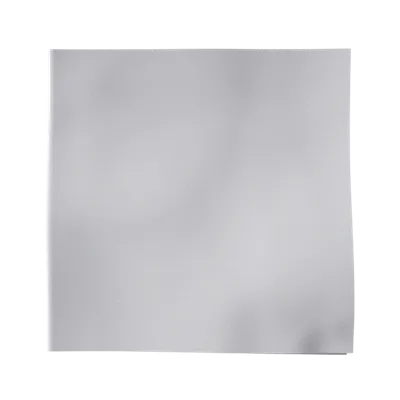
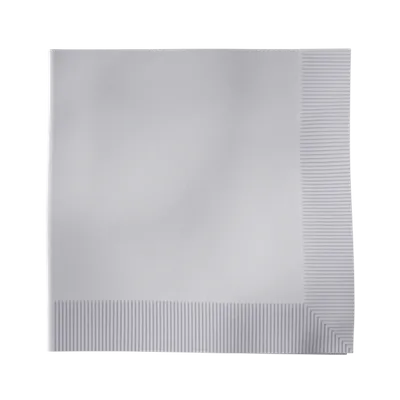

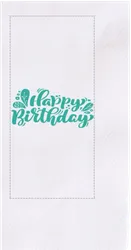
Your design will be positioned in the center and in the middle of the printable area. Unless otherwise instructed.
Review your order
Product:
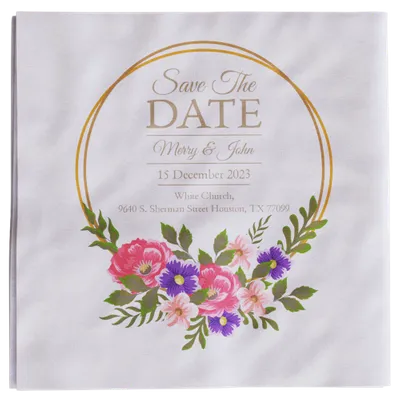
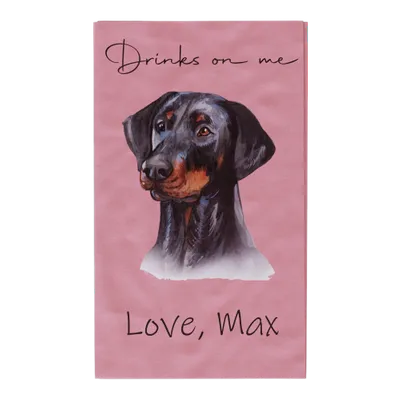
Custom Dinner Napkin
Total Quantity:
0
Total Amount:
$0.00 (All Inclusive)
Delivery date:
Made from high-quality paper, these napkins strike the perfect balance between elegance and functionality. Their disposable nature supports hygienic practices which are particularly valuable in dining environments with multiple guests or high turnover.
Customization options include up to full-color imprinting, offering flexibility for multiple design needs. The imprinting process produces vibrant and sharp visuals that remain intact throughout use, making these napkins ideal for showcasing logos, event-specific designs, or custom messages.
From classic whites to bold reds and elegant blues, these napkins can seamlessly match any event theme or decor. Their sleek folded design and customizable imprint options make them a versatile choice for any occasion, from intimate dinners to grand celebrations.
| Specification | Details |
|---|---|
| Material | Premium paper |
| Folded Dimensions | 8 in x 8 in (20.32 cm x 20.32 cm) |
| Unfolded Dimensions | 17 in x 12 in (43.18 cm x 30.48 cm) |
| Imprint Size | 3” w x 5” h |
| Imprint Color Options | 1-Color, 2-Color, 3-Color, Full-Color |
| Printing Method | Monochrome |
| Available Colors |
|
| Recommended Events |
|
When uploading your custom design for our Premium Dinner Napkins, the file type and quality are essential to ensuring a sharp, professional finish. Below is a breakdown of preferred and accepted file types, along with tips for achieving the best results.
Step 1: Select Your Napkin Type
Step 2: Select Napkin Style
Choose the napkin style that best suits your event’s aesthetic:
Step 3: Select Napkin Color
Pick from a palette of 18 unique colors to match your event's theme. Ensure that the chosen imprint color contrasts well with your napkin color for optimal readability.
Tip for Contrast: Use light imprint colors (e.g., white, gold) on dark napkins and dark imprint colors (e.g., black, navy) on light napkins.
Step 4: Choose Napkin Thickness
Pro Tip: Choose 3-ply napkins for events requiring a touch of sophistication and premium quality.
Step 5: Select Printing Orientation
Decide between Square or Diagonal placement.
Pro Tip: Diagonal printing works exceptionally well for bold graphics or text-heavy designs.
Step 6: Customize Your Napkin
Options include:
Step 7: Choose Your Guaranteed Delivery Date
Pick a delivery date that aligns with your timeline. Standard production is 3–5 business days, with expedited options available for last-minute orders.
Our Premium Dinner Napkins are versatile and suitable for a wide range of occasions, elevating each with their premium design and customizable options. Here’s how they shine:
Proper handling and storage are crucial for maintaining the quality of premium custom beverage napkins. Follow these after-care recommendations:
Consider innovative approaches to design and functionality for premium dinner napkins.
Yes, we’re happy to provide a sample for a small fee, which can be credited toward your final purchase.
Customization typically takes 3-5 business days. Expedited options are available upon request.
If your file is not one of our preferred formats, our design team can assist in converting it to ensure the best print quality. Additional fees may apply.
Follow our file guidelines and use high-resolution images for the best results. Need help? Our design team is here to assist.
We’re here to protect your rights as a consumer and ensure a fantastic shopping experience! Take a moment to review our friendly overview of our policies:
Once your order is placed, you’ll receive an email with production and shipment details. Our production process typically takes 3 to 5 business days. To ensure timely delivery, please provide a physical address. While we’re unable to ship to P.O. Boxes, we accommodate APO and FPO addresses via USPS (note: these shipments may take longer). Check this full policy here.
Promo Pro is Custom Napkins Now’s exclusive monthly membership. For a low monthly fee, enjoy benefits like:
We’re committed to ensuring your satisfaction. In the rare event of an error, we’ll promptly redo your order to meet your expectations. Claims must be made within 30 days. Customers are responsible for return shipping costs. Refunds are processed within 4 to 5 business days of receiving and confirming the product.
When choosing premium dinner napkins, these are the key features that make our service and shopping experience exceptional! There are many reasons to shop with us, and we’re excited for you to discover them.
No minimum purchase necessary. Save 10% off on our products, excluding production, shipping, sample products and applicable sales tax. Max $100 discount per order. Coupon code SAVE10 must be entered at checkout. Offer cannot be combined with any other coupons or promotions, and may change, be modified or cancelled at any time without notice. Offer cannot be apply when only sample product in cart.

/filters:quality(80)/fit-in/500x500/20250111-e1ccbb80-d097-11ef-9f2a-892789ed137d.jpeg)
/filters:quality(80)/fit-in/500x500/20250105-62dcf2c0-cbd8-11ef-80c7-cf0be861d583.jpeg)
/filters:quality(80)/fit-in/500x500/20241216-7cb66990-bbc3-11ef-ab59-25c68c576e86.jpg)
/filters:quality(80)/fit-in/500x500/20241211-62f97ce0-b7e0-11ef-aa2a-2b6503a888f3.jpg)
/filters:quality(80)/fit-in/500x500/20241211-656d6160-b7dc-11ef-8a23-f94d292bf45a.jpeg)
/filters:quality(80)/fit-in/500x500/20241030-c0ffec70-96c4-11ef-9d59-b94ccfbb9ac8.jpeg)
/filters:quality(80)/fit-in/500x500/20240925-a4325560-7b60-11ef-b321-5d32bcb964ba.png)
/filters:quality(80)/fit-in/500x500/20240919-dc291cc0-76e1-11ef-a76f-53fd5de2536c.jpg)
/filters:quality(80)/fit-in/500x500/20240913-c7bd9fa0-721f-11ef-b28a-070228e2f51e.png)
/filters:quality(80)/fit-in/500x500/20240829-e660c880-6673-11ef-a320-1d83de28edb7.png)
/filters:quality(80)/fit-in/500x500/20240729-a5470d50-4da3-11ef-829a-2964fd1472b7.jpg)
/filters:quality(80)/fit-in/500x500/20240724-0c838810-49b7-11ef-bf2a-5755b6f23dd7.png)
/filters:quality(80)/fit-in/500x500/20240719-80ec5440-45be-11ef-8a69-7fa5527f38a6.jpeg)
/filters:quality(80)/fit-in/500x500/20240708-090308d0-3d84-11ef-9aea-e122388fc8b5.jpeg)
/filters:quality(80)/fit-in/500x500/20240620-0d9e8380-2f07-11ef-a9fe-6d609c33d7c7.jpeg)