| Qty | 1 | 50 | 100 | 200 | 300 | 500 | 1000 | 2000 | 5000 | 10000 | 25000 | 25000+ more |
| Price | $0.01 | $0.44 | $0.33 | $0.32 | $0.31 | $0.25 | $0.23 | $0.22 | $0.20 | $0.19 | $0.18 | For the best pricing on quantities over , contact us by clicking here for a special quote |


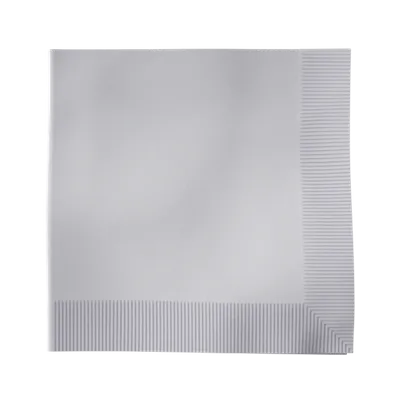

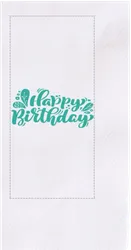
Your design will be positioned in the center and in the middle of the printable area. Unless otherwise instructed.
Review your order
Product:
Custom Foil Stamped Beverage Napkin
Total Quantity:
0
Total Amount:
$0.00 (All Inclusive)
Delivery date:
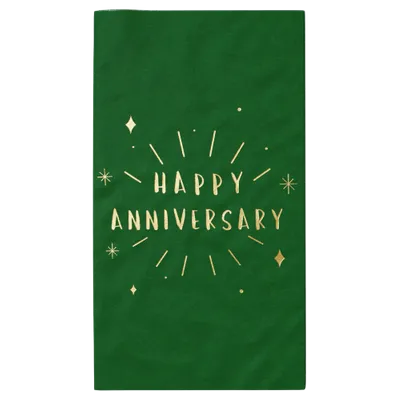
The foil stamping technique made our beverage napkins an elegant and shiny table accessory that cannot be missed. The metallic foil stamping adds a luxurious, reflective finish, ensuring your napkins catch the light and your guests' attention.
On the other hand, whether you are hosting a casual friend gathering or a big corporate event, the ultra-absorbent paper of our foil-stamped napkins makes them a practical item. They can handle everything, from little drops to big and dense spills, while keeping the foil stamp withstand the rest of your event.
To truly show the nature of your event, you can adorn the napkins with custom logos, celebratory messages, and more. Together we can make the foil-stamped beverage napkins stand out as a key element of your event’s design!
Foil-stamped beverage napkins are available in various base colors (from classic white to vibrant jewel tones) and foil finishes, including gold, silver, rose gold, and holographic options. Designed for single use, they must be disposed of after use, but they offer a great combination of practicality and style, ideal for intimate and large-scale occasions.
Key Features:
| Specification | Details |
|---|---|
| Material | Paper |
| Imprinting Colors |
|
| Number of Imprinting Colors | 1 |
| Available Colors |
|
| Sizes |
|
Submitting your artwork correctly ensures your foil-stamped beverage napkins look flawless. Below, we break down the key file types we accept, their advantages, and tips for preparing your designs.
We prioritize vector-based formats like AI, EPS, and SVG, as they provide unmatched scalability and sharpness. For raster images, ensure they are high-resolution (minimum 300 DPI). Here's a breakdown:
| File Type | Advantages | When to Use |
|---|---|---|
| AI (Adobe Illustrator) |
|
Use when submitting intricate designs, brand logos, or text-heavy elements. Ensure all fonts in the document are outlined. |
| EPS (Encapsulated PostScript) |
|
Perfect for designs created in software other than Adobe Illustrator. Flatten all layers for external compatibility. |
| SVG (Scalable Vector Graphics) |
|
Suitable for simple, bold designs like icons or patterns. Avoid overlapping elements for better foil application. |
| PNG (Portable Network Graphics) |
|
Best for minimal designs or when no vector version is available. Use 300 DPI resolution to avoid pixelation during stamping. |
| JPEG (Joint Photographic Experts Group) |
|
Use only when other formats are unavailable. Ensure a resolution of at least 300 DPI. Avoid low-quality files for complex designs. |
| PDF (Portable Document Format) |
|
Ideal for multipage designs or mixed content. Flatten layers and ensure vector elements are editable when exporting. |
Choosing the right file format affects the final appearance of your foil-stamped napkins. Vector files (like AI or EPS) guarantee that every detail remains crisp, no matter what the final printing size will be. On the other hand, raster images (like PNG or JPEG) can produce softer or pixelated edges if not high-resolution, this format is ideal for small prints or elements without big details.
Step 1: Select Napkin Type
Step 2: Select Napkin Style
Keep in mind that for evening galas or formal celebrations, patterned or coined edges add a touch of refinement, while plain napkins let intricate foil work shine.
Step 3: Select Napkin Color
Choose a shade that aligns with your event's theme and design:
Step 4: Select Napkin Thickness
Step 5: Select Print Orientation
For a formal look, stick to a square placement. Diagonal placement adds a touch of creativity and suits modern or themed events.
Step 6: Customize Your Napkin
Bring your design vision to life with various customization options:
For legibility, use bold fonts and avoid overcrowding the design with excessive text or complex patterns.
Step 7: Choose Your Guaranteed Delivery Date
Plan by selecting a delivery date that matches your event schedule. Early orders help account for potential delays or adjustments. We recommend ordering 2–3 weeks in advance for peace of mind and ensuring timely delivery.
Foil-stamped beverage napkins transcend traditional uses, making them a standout feature for diverse and imaginative events:
Foil-stamped beverage napkins elevate the ambiance in upscale bars and lounges. These napkins:
In restaurants, these napkins strike a balance between utility and luxury:
Luxury accommodations use foil-stamped beverage napkins to create memorable guest experiences:
Foil-stamped napkins are indispensable during hotel-hosted weddings, galas, or corporate events:
Even casual hospitality settings can benefit:
Proper care ensures your foil-stamped beverage napkins maintain their luxurious appeal for extended use or safekeeping as mementos:
By following these steps, you’ll retain the pristine elegance of your foil-stamped napkins, whether for reuse or as cherished souvenirs.
Foil stamping is a printing process where a thin layer of metallic foil is applied to paper or fabric using heat and pressure. The foil comes in various colors, such as gold, silver, copper, and more, and adds a shiny, elegant finish to designs.
Absolutely. The high-quality paper used in foil-stamped napkins ensures excellent absorbency, making them suitable for both hot and cold beverages. They help keep surfaces dry and provide a functional, stylish addition to any drink service.
Yes, these napkins are designed for both elegance and durability. The foil stamping process creates a beautiful finish that won’t easily smudge or wear off. With proper care, these napkins will maintain their appearance throughout your event and can even be stored as keepsakes.
Shipping:
Orders are typically shipped within 3 to 5 business days following production. If you need your order sooner, we offer rush shipping options. Once your order has been dispatched, tracking details will be made available for your convenience. Additionally, we accommodate shipping to APO/FPO addresses through USPS, although please note that delivery times may vary.
Promo Pro Membership:
Unlock premium benefits like priority processing, exclusive discounts, and personalized assistance by joining our Promo Pro Membership program.
Refunds and Returns: We understand that issues can arise, and we encourage you to reach out to us within 30 days of receiving your order. If you do encounter any problems, we may ask for photos or samples to help us resolve the matter quickly.
We want to make sure you feel supported throughout this process. Once your claim is approved, we’ll process your refund within 4–5 business days to ensure you receive your funds promptly. Thank you for your understanding!
Exceptional Quality and Craftsmanship
Our foil-stamped beverage napkins are crafted with precision, using premium materials that ensure durability, absorbency, and an eye-catching shine. The foil stamping process is handled with care, ensuring that your custom designs are vibrant, crisp, and last throughout your event.
Fast Turnaround and Reliable Shipping
We understand that event planning can be stressful, and time is of the essence. Our streamlined production process ensures that your napkins will be ready quickly and delivered on time. With expedited shipping options available, we provide the flexibility to meet tight deadlines. Plus, you’ll receive tracking information so you can follow your order every step of the way.
Client Satisfaction Guaranteed
We stand by the quality of our products and are committed to your satisfaction. If there are any issues with your order, we’ll resolve them promptly—whether it’s through a redesign, replacement, or refund. Your happiness is our priority, and we go the extra mile to ensure your event is flawless.
No minimum purchase necessary. Save 10% off on our products, excluding production, shipping, sample products and applicable sales tax. Max $100 discount per order. Coupon code SAVE10 must be entered at checkout. Offer cannot be combined with any other coupons or promotions, and may change, be modified or cancelled at any time without notice. Offer cannot be apply when only sample product in cart.

/filters:quality(80)/fit-in/500x500/20250111-e1ccbb80-d097-11ef-9f2a-892789ed137d.jpeg)
/filters:quality(80)/fit-in/500x500/20250105-62dcf2c0-cbd8-11ef-80c7-cf0be861d583.jpeg)
/filters:quality(80)/fit-in/500x500/20241216-7cb66990-bbc3-11ef-ab59-25c68c576e86.jpg)
/filters:quality(80)/fit-in/500x500/20241211-62f97ce0-b7e0-11ef-aa2a-2b6503a888f3.jpg)
/filters:quality(80)/fit-in/500x500/20241211-656d6160-b7dc-11ef-8a23-f94d292bf45a.jpeg)
/filters:quality(80)/fit-in/500x500/20241030-c0ffec70-96c4-11ef-9d59-b94ccfbb9ac8.jpeg)
/filters:quality(80)/fit-in/500x500/20240925-a4325560-7b60-11ef-b321-5d32bcb964ba.png)
/filters:quality(80)/fit-in/500x500/20240919-dc291cc0-76e1-11ef-a76f-53fd5de2536c.jpg)
/filters:quality(80)/fit-in/500x500/20240913-c7bd9fa0-721f-11ef-b28a-070228e2f51e.png)
/filters:quality(80)/fit-in/500x500/20240829-e660c880-6673-11ef-a320-1d83de28edb7.png)
/filters:quality(80)/fit-in/500x500/20240729-a5470d50-4da3-11ef-829a-2964fd1472b7.jpg)
/filters:quality(80)/fit-in/500x500/20240724-0c838810-49b7-11ef-bf2a-5755b6f23dd7.png)
/filters:quality(80)/fit-in/500x500/20240719-80ec5440-45be-11ef-8a69-7fa5527f38a6.jpeg)
/filters:quality(80)/fit-in/500x500/20240708-090308d0-3d84-11ef-9aea-e122388fc8b5.jpeg)
/filters:quality(80)/fit-in/500x500/20240620-0d9e8380-2f07-11ef-a9fe-6d609c33d7c7.jpeg)